
Week #10; Trust
- On: July 24, 2019
 0
0
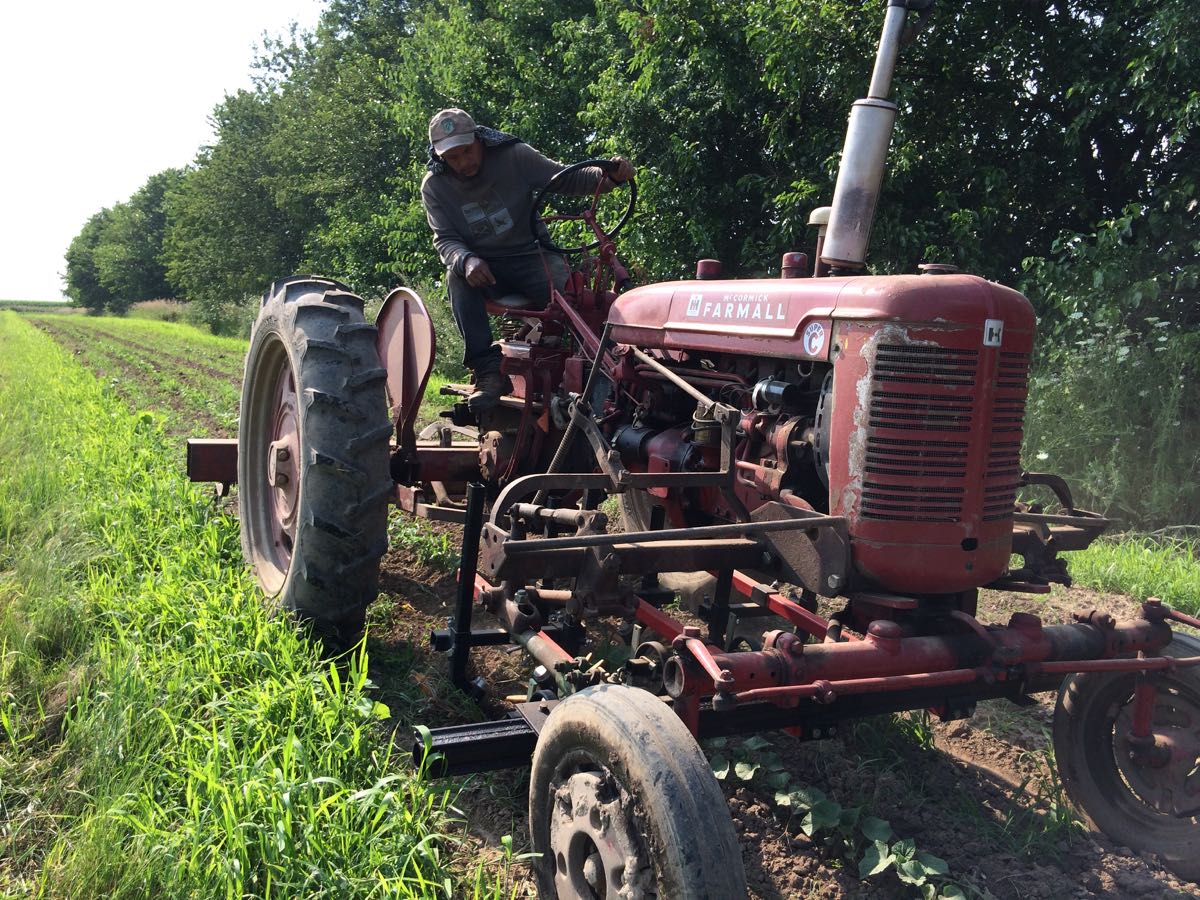
Raul cultivates cucumbers.
Employee Raul Casique Montes came to us with 17 years experience on vegetable farms in Illinois. He quickly took over most of our cultivation work. This is a high-skill job. Over the past few years, we’ve invested in a suite of modern, European-made cultivating tools, which we then mount on 65-year-old tractors. We trust Raul to decide when and how to cultivate each crop. It takes finesse and attention to the weather, soil, and how the crops are growing. There are tools to choose, plus fine adjustments to get as close as possible to the crop without damage. On a farm of our size, Steve and I cannot make every decision. We need this kind of expertise and independent decision-making. It’s such a relief to have someone trusted in this role.
Let’s explain why cultivation is so important. The #1 pest on every organic farm is weeds. If diseases or insects run amok, we might lose part of our yield. If we lose control to weeds, we lose the entire field. That happened last year for celeriac and leeks. It was too wet to cultivate in June and July, and that was the end of those crops. Keeping weeds at a tolerable level is a constant job, first with cultivation by tractor, then hoeing, then finer hand work close to the plants. Hand-weeding is expensive! And arduous! And no one likes doing it! We have to be deliberate about hand labor we assign to our crew because of the expense. The more we can accomplish mechanically, the better. We prefer to save our crew time for harvest and other jobs where their expertise is essential.
Let’s take a look at a few crops we won’t touch with a hoe at all this year. Beth
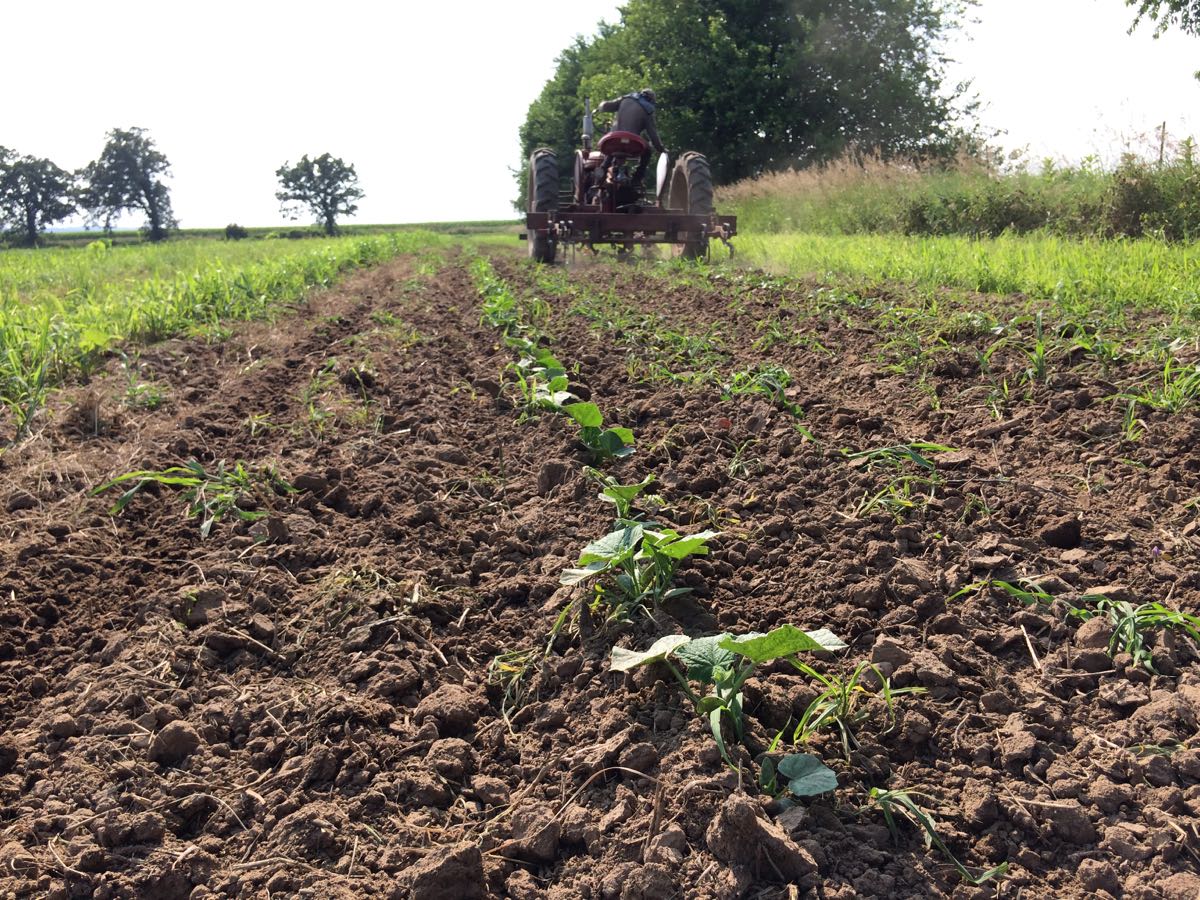
This is a small planting of direct-seeded cucumbers. Instead of growing the plants in the greenhouse, then transplanting as seedlings, we sowed the cucumber seed directly in the ground. If we can control weeds, this is a good approach because it saves the effort of transplanting the seedlings. Unlike the earlier cucumber fields, these plants don’t need protection from cold spring weather.
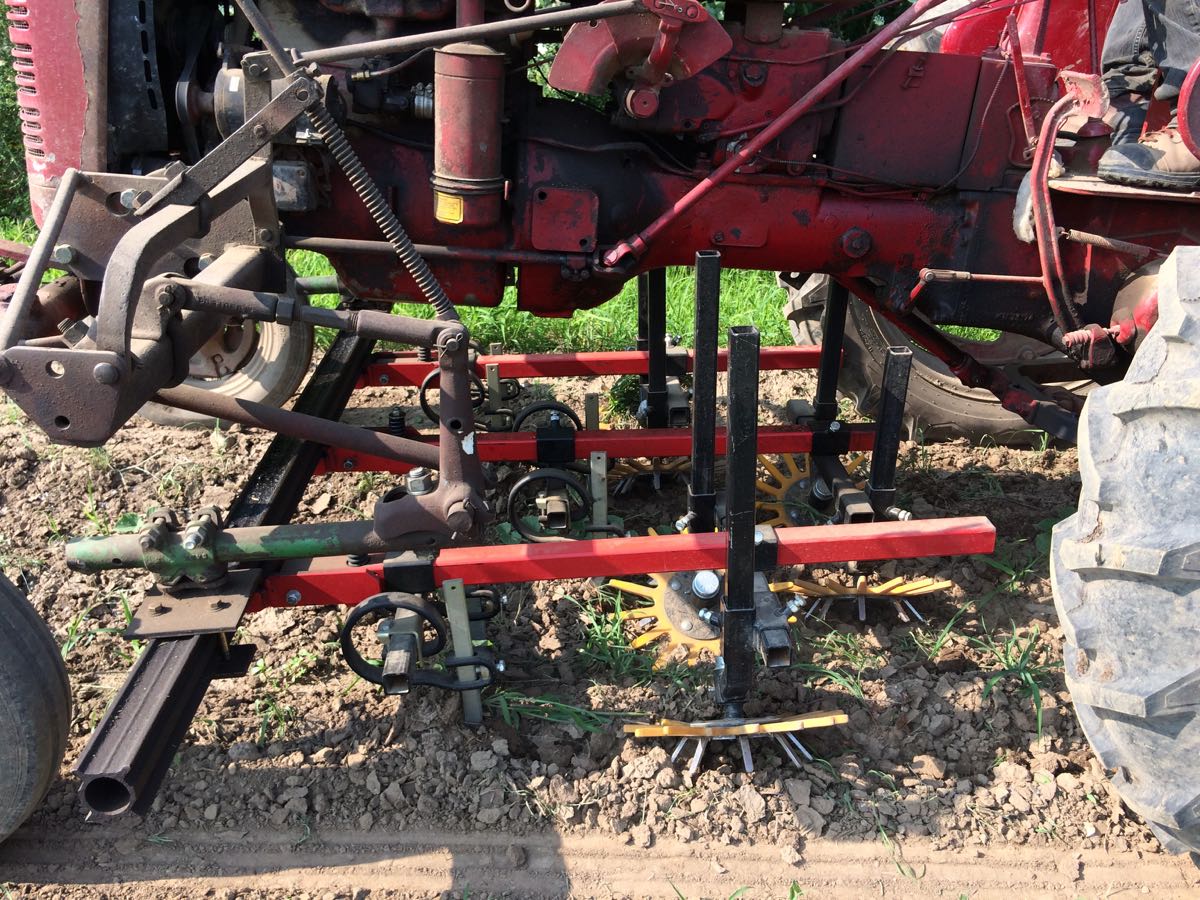
These are our fancy German-made finger weeders in action. This tool showed us how close we can cultivate crops without damage.
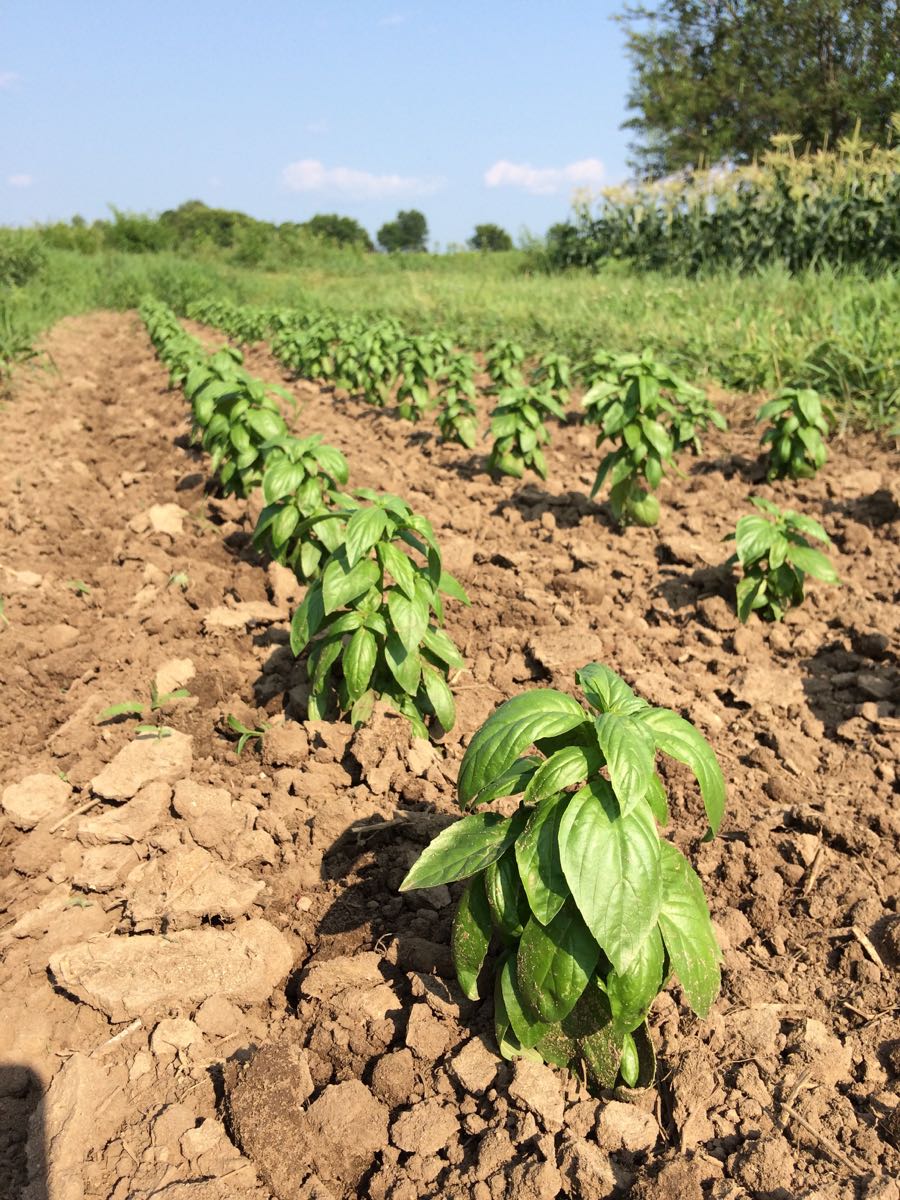
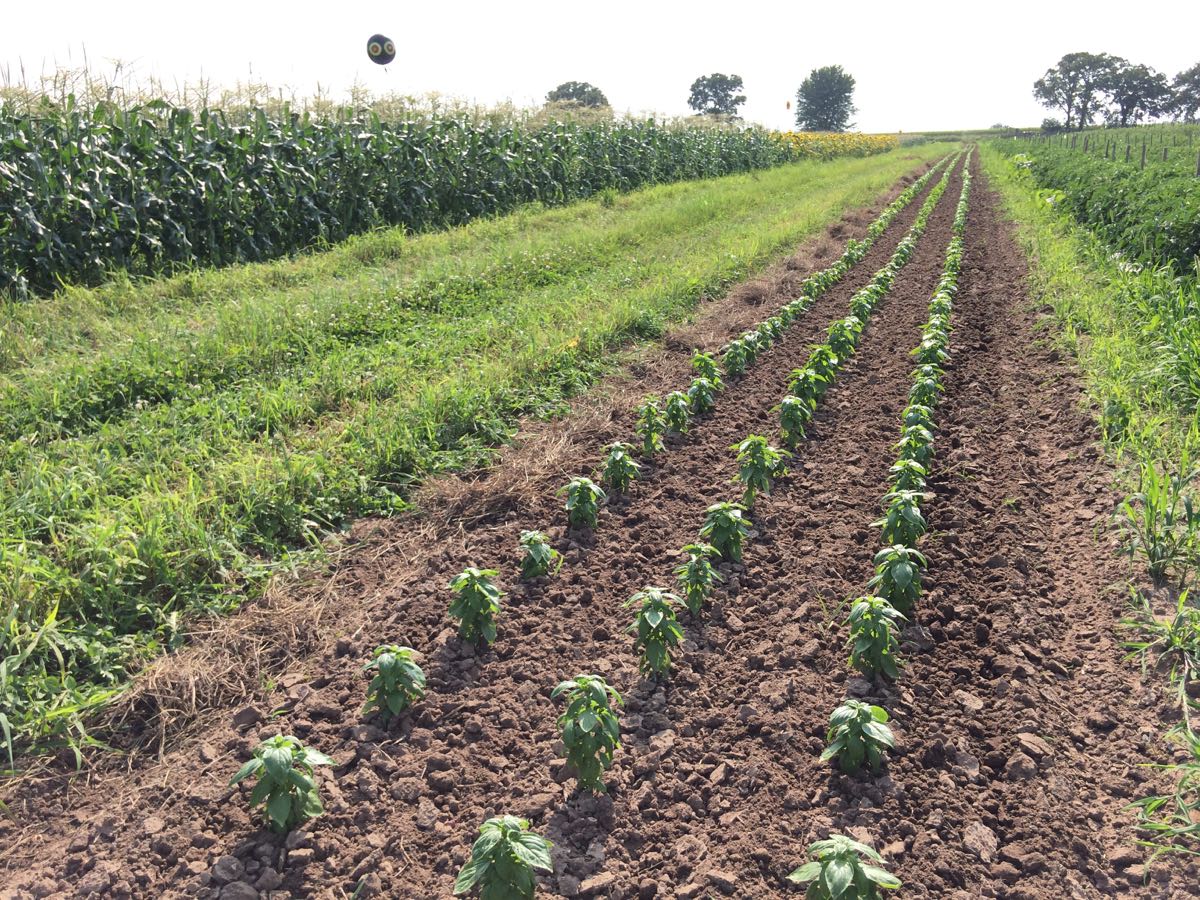
Look at how clean this basil field is after cultivation. We will begin harvest within two weeks, and will complete the crop without any weeding by hand. Basil is tricky. We’ve changed how we grow basil in response to a disease that showed up in the Midwest in 2010. We can no longer grow large bushy basil plants – they are too susceptible to disease. Our solution is to establish sequential plantings for harvest while the basil is young, before disease is a problem. It’s an excellent approach, as long as we don’t invest time weeding by hand, a perfect situation for close cultivation. FYI, we’re testing new disease-resistant varieties in this planting, to give us more options.
Veggie List and Veggie Notes
Week #10, July 25/26, 2019
– Weekly shares
– EOW/ green
Sweet corn, 8 or 9 ears
Caraflex cabbage, 1 head
Green beans, ~2/3 lb
Broccoli, several medium heads
Green leaf lettuce, 1 medium
Cucumbers, ~3
Zucchini &/or summer squash, 1 – 1.5 lb
Walla Walla onion
Purple bell or frying pepper, 1
Cherry tomatoes OR a small bag of plum or slicing tomatoes
Next week’s box will probably contain sweet corn, tomatoes, cucumbers, lettuce, carrots, green beans and more.
Sweet corn – Now it’s summer! Some ears have bugs at the tip. I suggest cutting off the tips before shucking the corn.
Storage. Sweet corn is best when fresh, so we encourage you to eat it asap. Store in the refrigerator, in the husks if you have the room.
Cooking. It is quicker to steam sweet corn than to boil it.
1.) Stand ears of corn upright in a tall pot. Put one inch of water in the pot.
2.) Bring the water to a boil. If the corn is cold when you begin cooking, steam for 5 – 6 minutes. If the corn starts at room temperature, steam for 4 – 5 minutes. The cooking time will vary somewhat depending on how many ears are in the pot. Pay attention to how the corn smells. The scent changes once the corn is ready. Another clue: water will bead on the corn until it is cooked. Don’t overcook it.
Caraflex cabbage – This ‘salad’ cabbage is great for slaws but also handles light cooking.
Green beans – We packed the beans in a paper bag but they will wilt if left in paper. Either transfer to a container, or cover the paper bag with a plastic bag, e.g. a bag you saved from a previous CSA delivery. Store in the warmer part of your fridge.
Broccoli – This is probably the last broccoli until fall. We’re pleased with how productive this field was. Much of this week’s broccoli has uneven heads, the result of last week’s hot weather. The unevenness does not affect flavor.
RECIPES
Visit our 2019 Recipe Log or our 2018 Recipe Log or join our Facebook discussion group.
LOCAL THYME/ Comforting Classics
Parmesan Roasted Broccoli with Pine Nuts
Southwestern Black Bean, Corn, Zucchini and Tomato Salad
Shrimp, Cabbage and Refried Bean Tostadas
Chickpea, Chorizo and Vegetable Soup
LOCAL THYME/ Outside the Box Recipes
Marinated Broccoli and Tomatoes on a Bed of Lettuce
Blistered Cherry Tomato and Corn Salad
Cabbage Slaw with Cashews and Raisins
Green Beans Sautéed with Garlic, Anchovies and Cherry Tomatoes
LOCAL THYME/ Quick & Easy Meal
Maque Choux
????????????
RECIPES FROM LAUREN
SUMMER FIESTA SALAD
If making this dressing just seems like to much keeping you from dinnertime, feel free to us something bottled. You are looking for something creamy, tomato-based if possible, and a little spicy. This one isn’t tomato-based but I do adore it.
Serves 4-6
Takes 30 minutes
8-12 pieces thick-cut bacon
1/2 head Caraflex cabbage, shredded
1 green pepper, seeded and cut into thin strips
1 tablespoon lime juice
1 tablespoon olive oil
Kosher salt
4 ears corn, cooked 5 minutes in boiling water and kernels removed
1/2 Walla Walla onion, thinly sliced
1 cucumber, halved, seeded and thinly sliced
2-4 avocados, cut into cubes
Smoky Tomato Dressing
6 dried morita chiles (I highly recommend you find them at an ethnic grocery if you have the time)
4 garlic cloves
2 crushed tomatoes, cored (about 1/4 cup if using canned stuff)
1/4 cup red wine vinegar
1/4 cup honey
1 teaspoon Kosher salt
1 cup olive oil
- Place bacon on a baking sheet. Put in the oven and turn temperature to 400 degrees (do NOT preheat ahead of time, just start the preheat process once the bacon is in the oven). Set time for 20 minutes and let cook until fully browned and crispy.
- In a food processor, prepare your dressing by combining all ingredients except olive oil and process until combined. It will be a little chunky but don’t worry about that. Scrape down the sides and get the processor running again. Drizzle in olive oil slowly until it becomes emulsified (aka begins to look a little creamy). Pour into a mason jar.*
- In a medium bowl, combine cabbage and peppers. Toss with olive oil, lime juice and a couple pinches of salt.
- To prepare your salad, combine a cup or so of chopped lettuce with a couple handfuls of slaw in a dinner bowl. Top with corn, onion, cucumber, avocado and bacon. Drizzle with dressing.
*If you don’t use this dressing right away, keeping it in a mason jar makes it easy to shake and re-emulsify whenever you are ready to serve.
.
????????????
.
SHREDDED ZUCCHINI PIZZA
Adapted from Food52
Serves 4-6
Takes 1 hour (plus time to make the dough if preparing from scratch)
1/2 batch pizza dough (my favorite recipe is from Pioneer Woman and I always make it 2-4 days in advance for the best texture)
1-1/2 pounds shredded zucchini and/or summer squash (about 5 cups)
1 teaspoon Kosher salt
6 ounces shredded mozzarella, fontina or gruyere cheese
1/4 Walla Walla onion, sliced
1 green pepper, finely diced
3 tablespoons plain breadcrumbs
- Place zucchini or summer squash in a large colander with salt. Toss it gently and then let it sit for 30 minutes.
- Preheat oven as hot as your oven with go (usually 500 or 525 degrees).
- Once time has passed, use hands to squeeze out a handful worth of zucchini at a time. Place in a large bowl and add cheese.
- Roll out pizza dough to fit a baking sheet. It might be thin and need to be seriously stretched. Don’t worry. The thinner the crust, the better the outcome. Spread zucchini mixture over crust going all the way to the edges (not leaving a crust like you would in a regular pizza). Sprinkle with onions and peppers followed by breadcrumbs.
- Bake for 20-25 minutes until golden brown throughout. Cut and enjoy!
.


