
Experimental Farm Habitat, week #12
- On: August 02, 2017
 0
0
I set out to establish an experimental patch of prairie this year. Interspersing natural areas among our fields is an important practice of organic farming. Our farm has a lot of land that is not in crops, mostly grassy field roads and untilled hills planted to alfalfa. However, much of it is not quality habitat. The blooming species are limited and the hills are getting overgrown with introduced grasses. We need to do better. Our goal is to have a long season of flowers to support our bees and the beneficial insects that protect our crops. They are important pieces of the puzzle of organic farming.
Hiring Kristen Knoener abetted my interest in prairie. She has many years experience working for a prairie restoration company. She and I talk endlessly about prairie. Thank goodness she’s here because Steve will no longer discuss prairie with me. He’s heard enough.
Most modern prairies are established with heavy herbicide use, especially if weeds are already present. Read extension manuals and they say “it can’t be done without herbicides.” This cannot be true! I began reading last winter and discovered there’s belief among biologists that prairie can be established using just fire to suppress introduced weeds. I joined the local Prairie Enthusiasts chapter and found they are experimenting with the same idea. There are tricks, such as burning in late spring, an unusual time of year but effective against some difficult weeds. It also helps if you keep your expectations low.
Last fall, I collected seed from friends’ land and nearby prairies. This spring, we started 2000 prairie seedlings in our greenhouse, using the same techniques we use to grow our vegetable seedlings. In early July, we burned a small strip at the edge of a fallow area. Kristen and friends with burning experience came to show us how to do this properly. We planted more seed using our vacuum seeder, the one Steve plants carrots with. Finally, we transplanted our seedlings in mid-July. The timing was perfect, sandwiched between two substantial rains. The plants are already growing strongly.
Will this work? We are using an unusual technique. I plan to keep my expectations low and will be content if we achieve a long season of bloom even if mixed with weedy species. It will not be picture-perfect prairie but that’s OK. It will make our farm a healthier ecosystem and a prettier place to live. Wish us luck! Beth
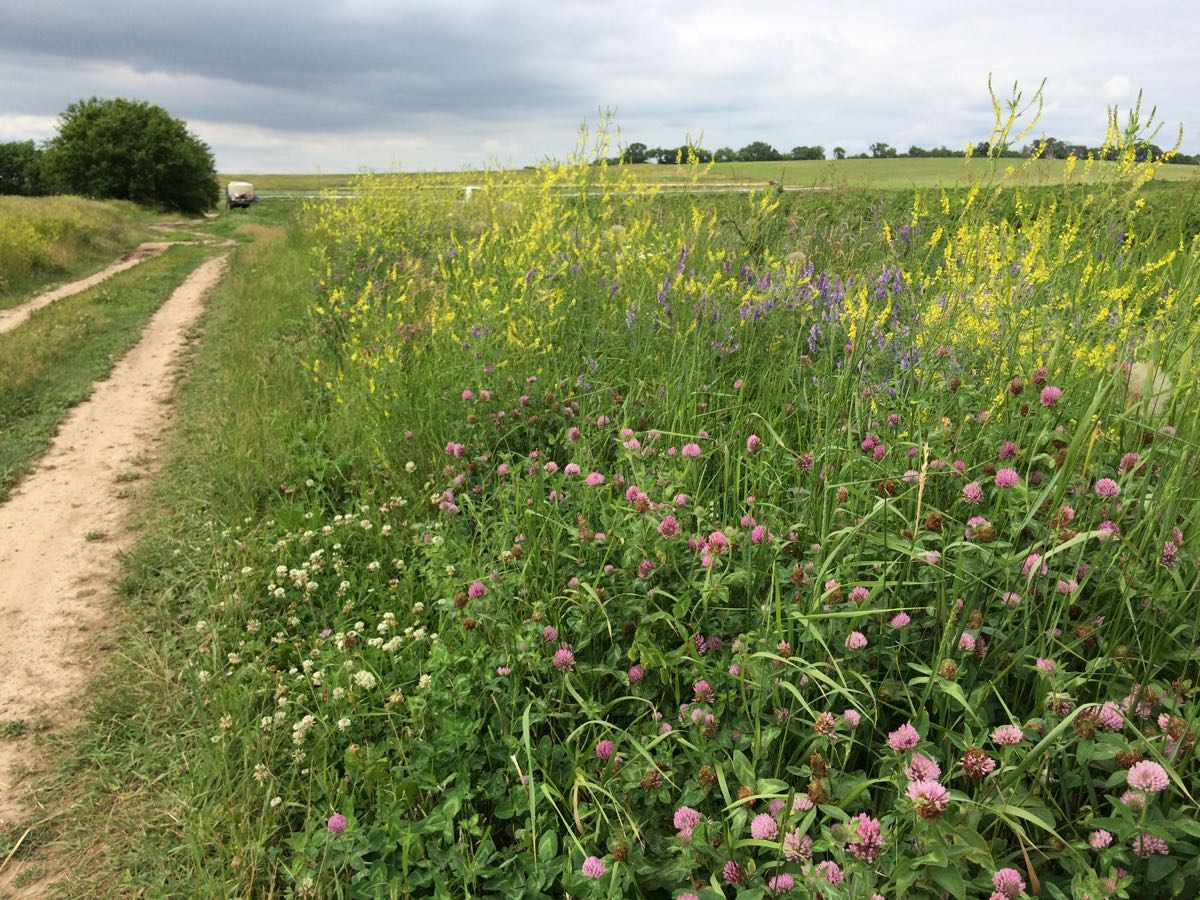
Even weedy areas can support bees and other pollinators. Most of the blooming plants in this photo are introduced species that linger on the edges of our farm. This little flowering strip bisects our farm and stays in bloom for almost two months. It buzzes with bees from nearby hives.
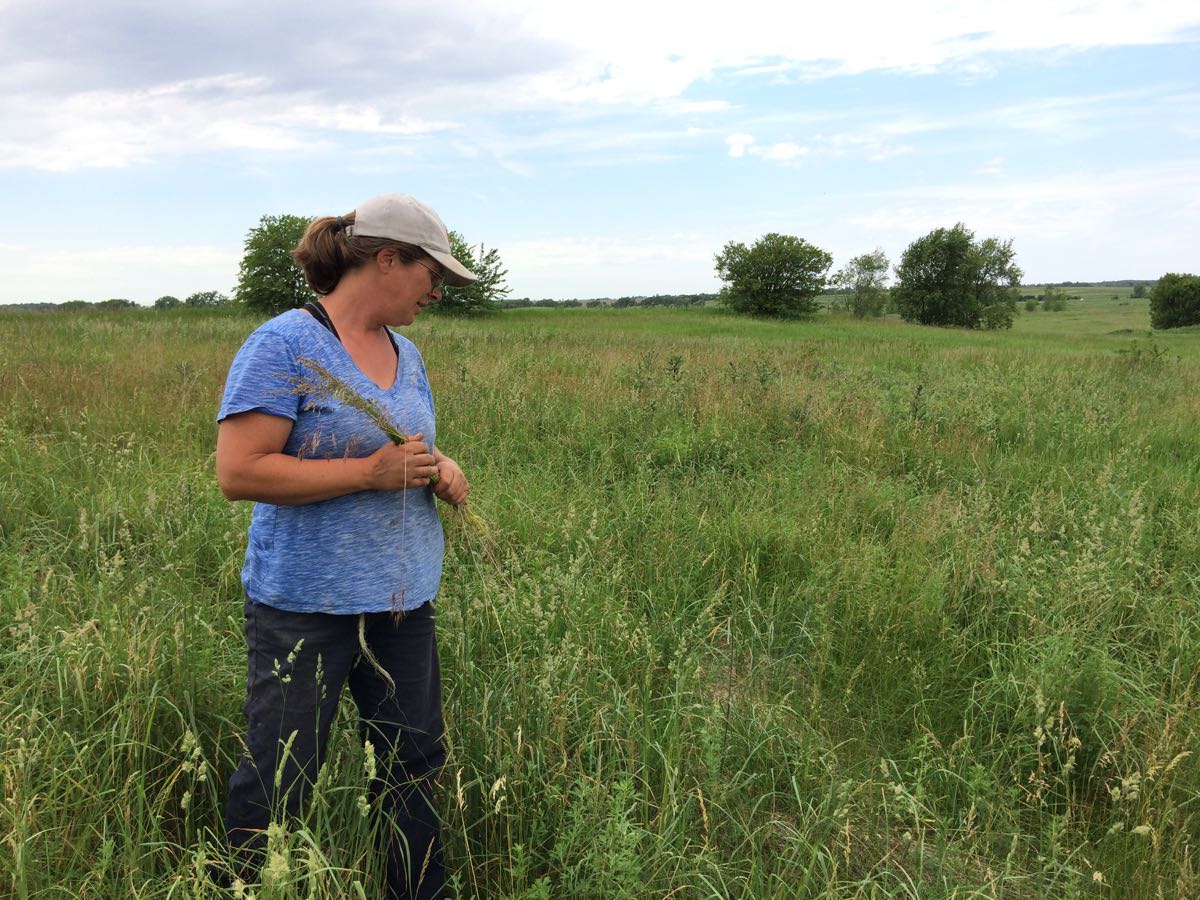
Kristin looks through the area we chose to work in. We seeded this field to alfalfa 15 years ago but grasses have crept in. It’s a daunting area. That’s why this is an experiment.
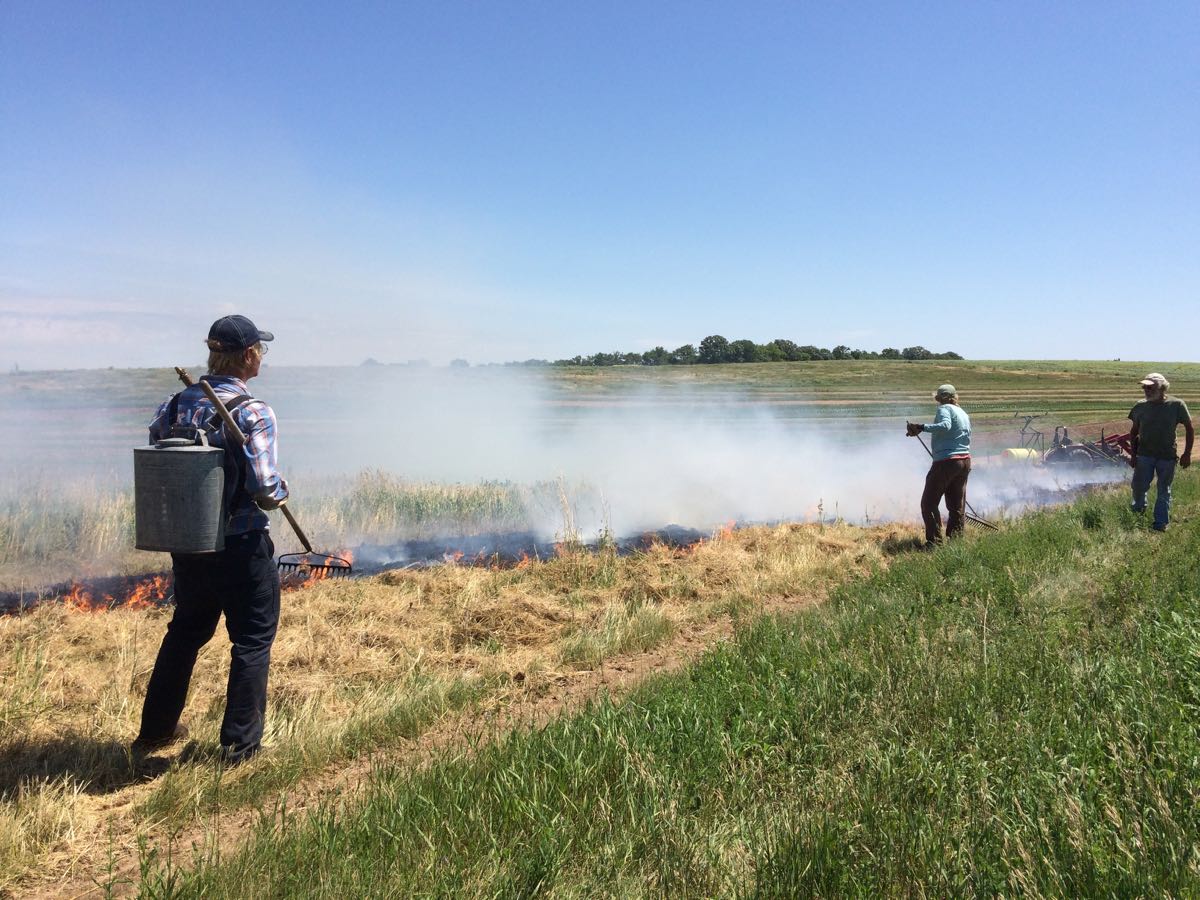
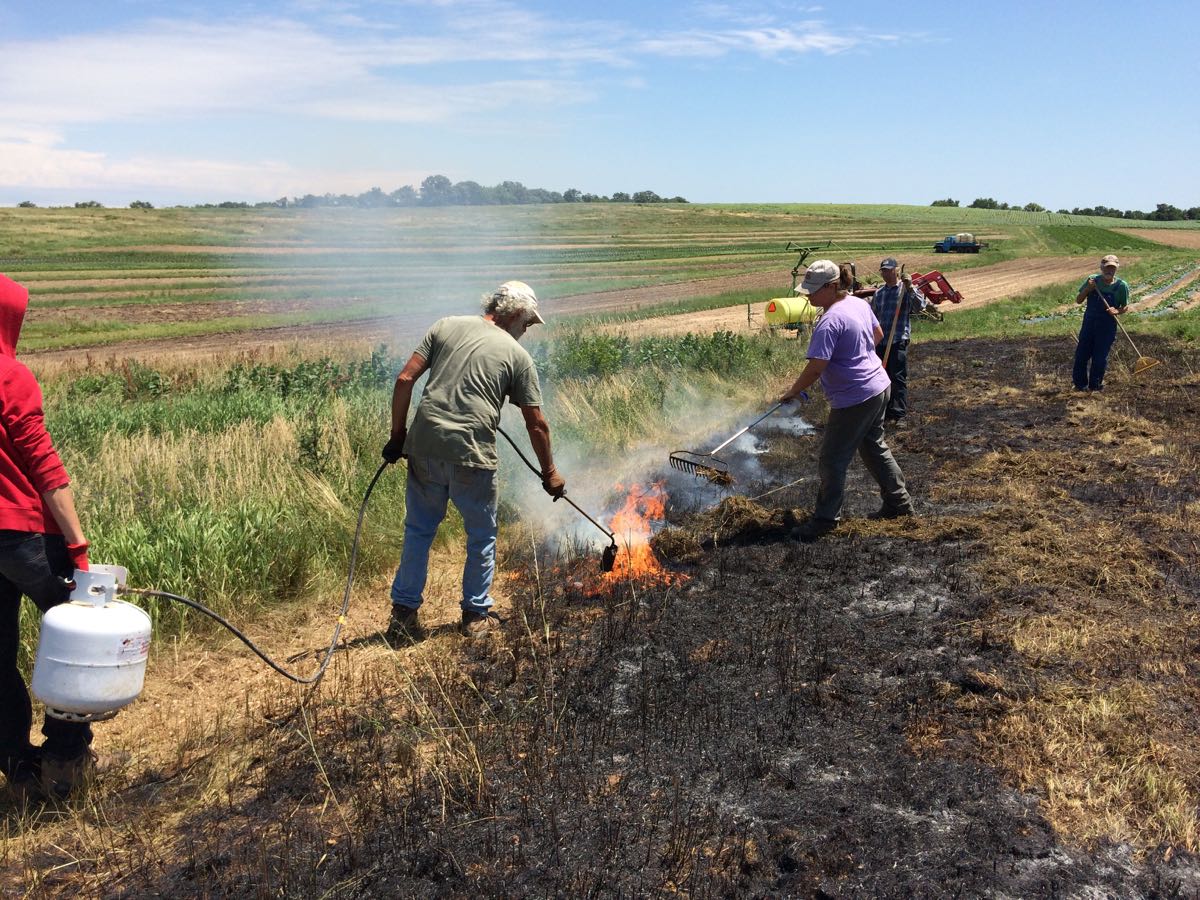
We burned the area in early July. Top, Kristin’s friend Nate Gingerich carries a water can, I move the fire around with a rake and Steve checks the edge. Bottom, Ari, Steve and Kristin clean up unburned patches. Nate and John Ischner in background.
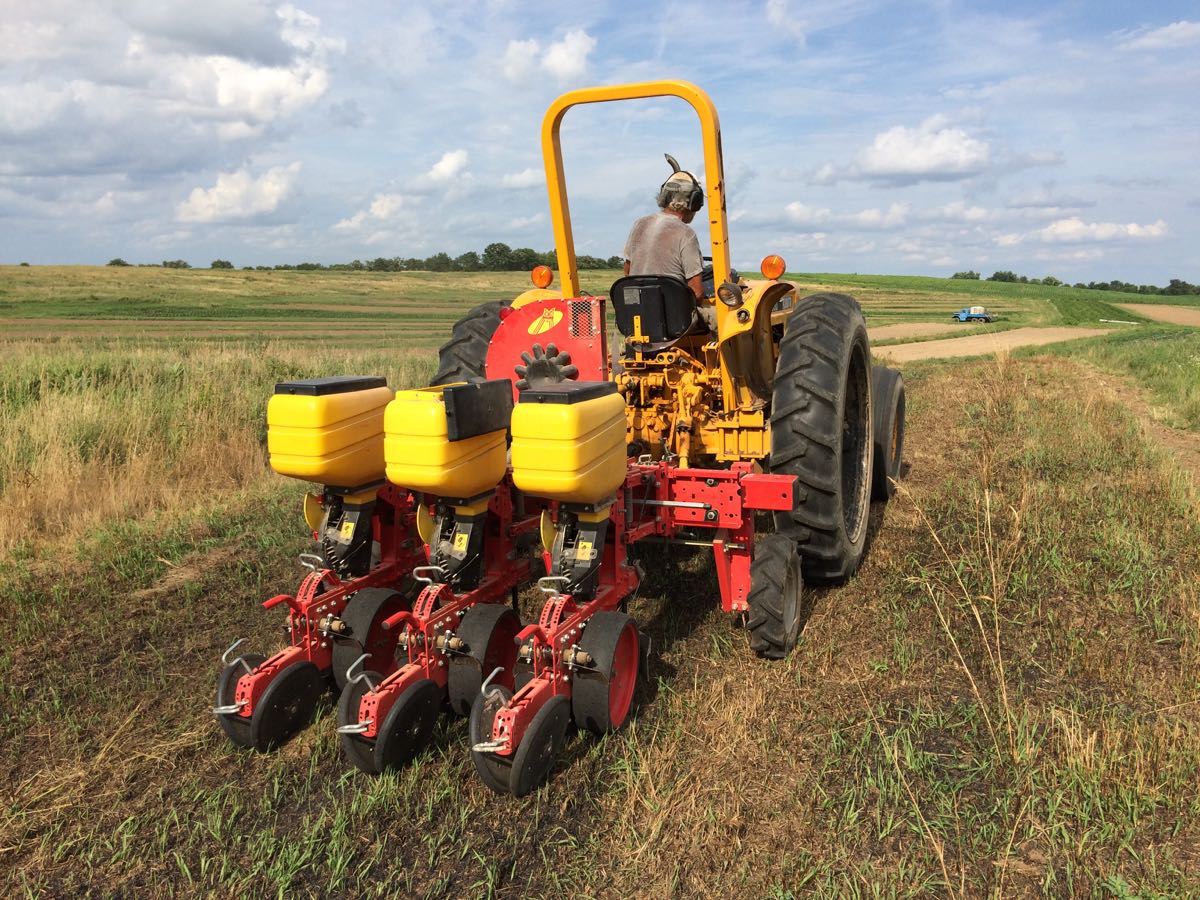
We added seed, using our expensive vacuum seeder. We own many tools for growing vegetables and may as well use them for this project.
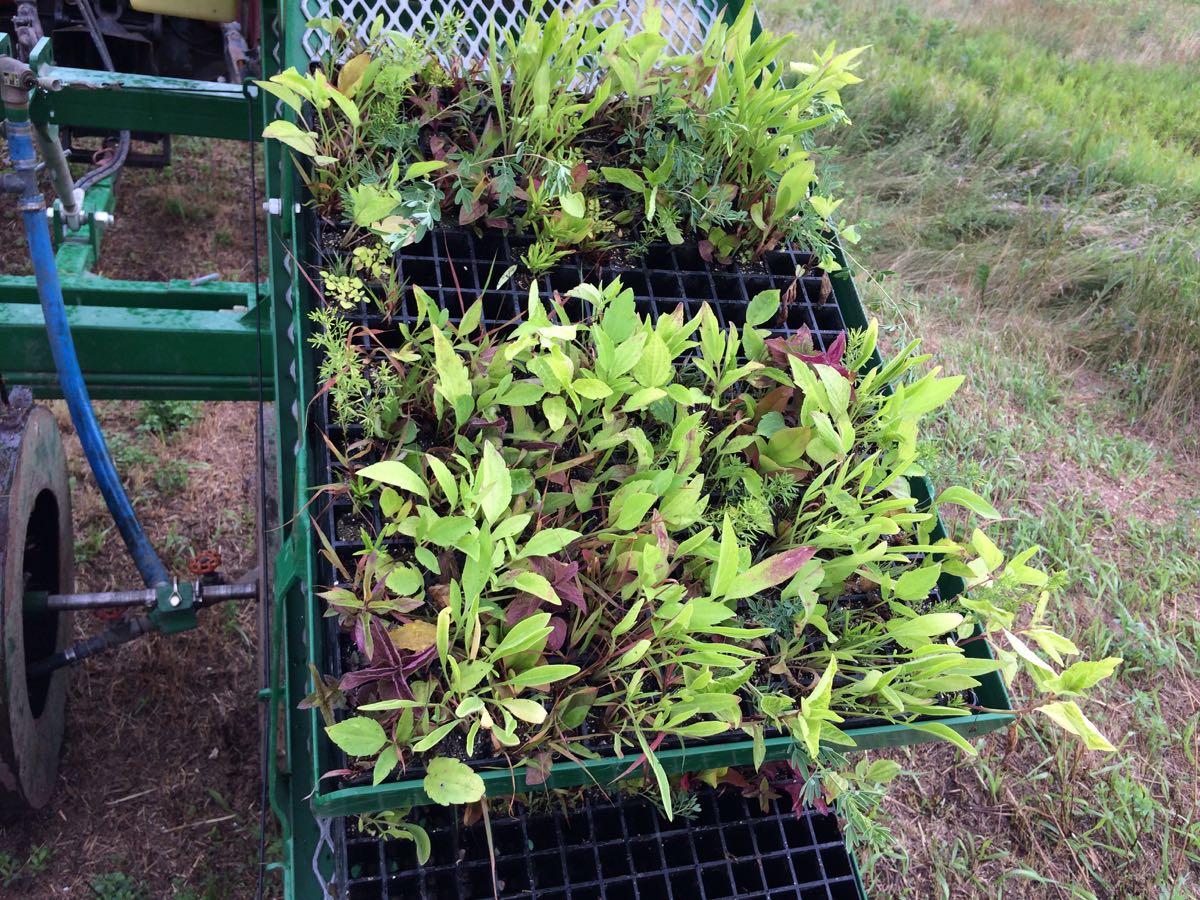
Mixed flats of greenhouse-grown prairie seedlings.
![]()
Transplanting the seedlings.
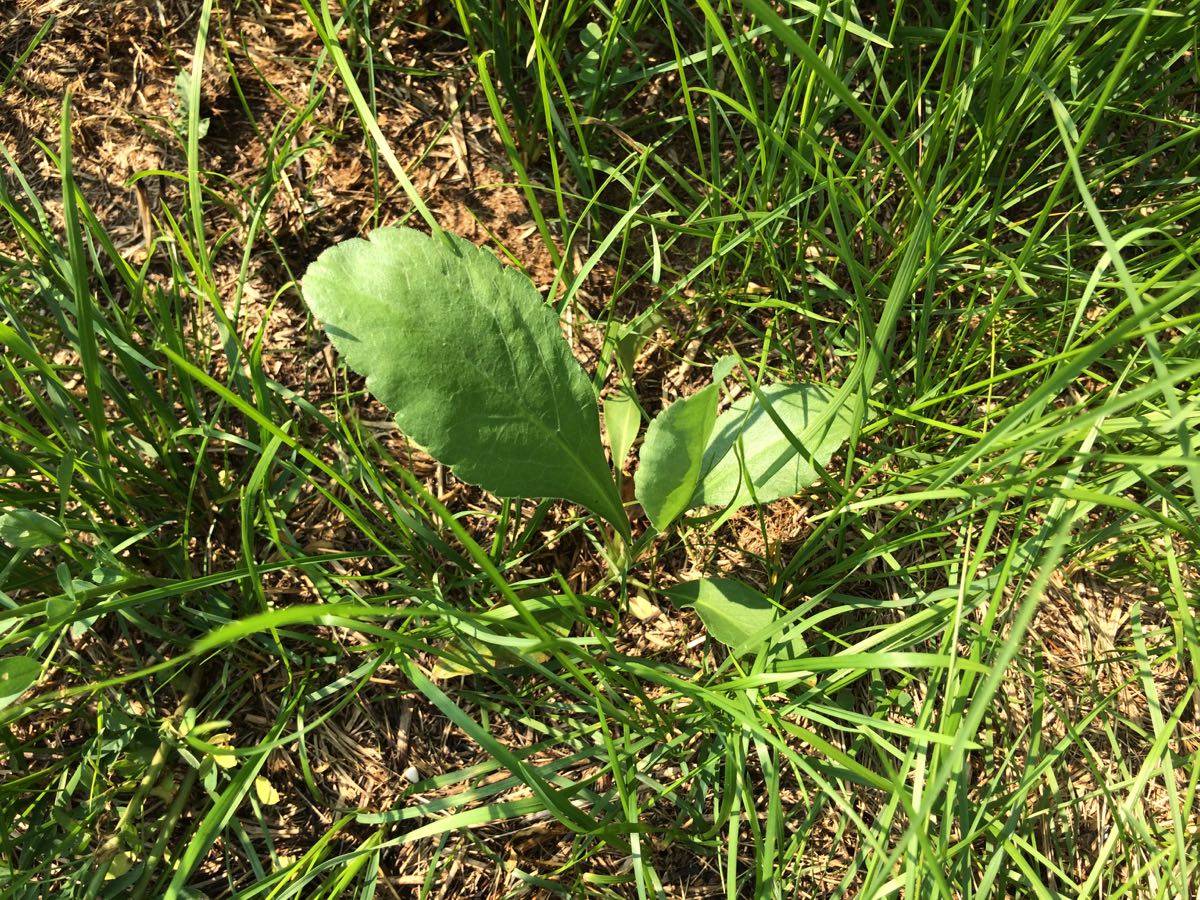
Three weeks later, the seedlings have already grown a lot! The alfalfa and grasses are growing back too (as expected). We’ll try to manage those by mowing and burning again next spring.
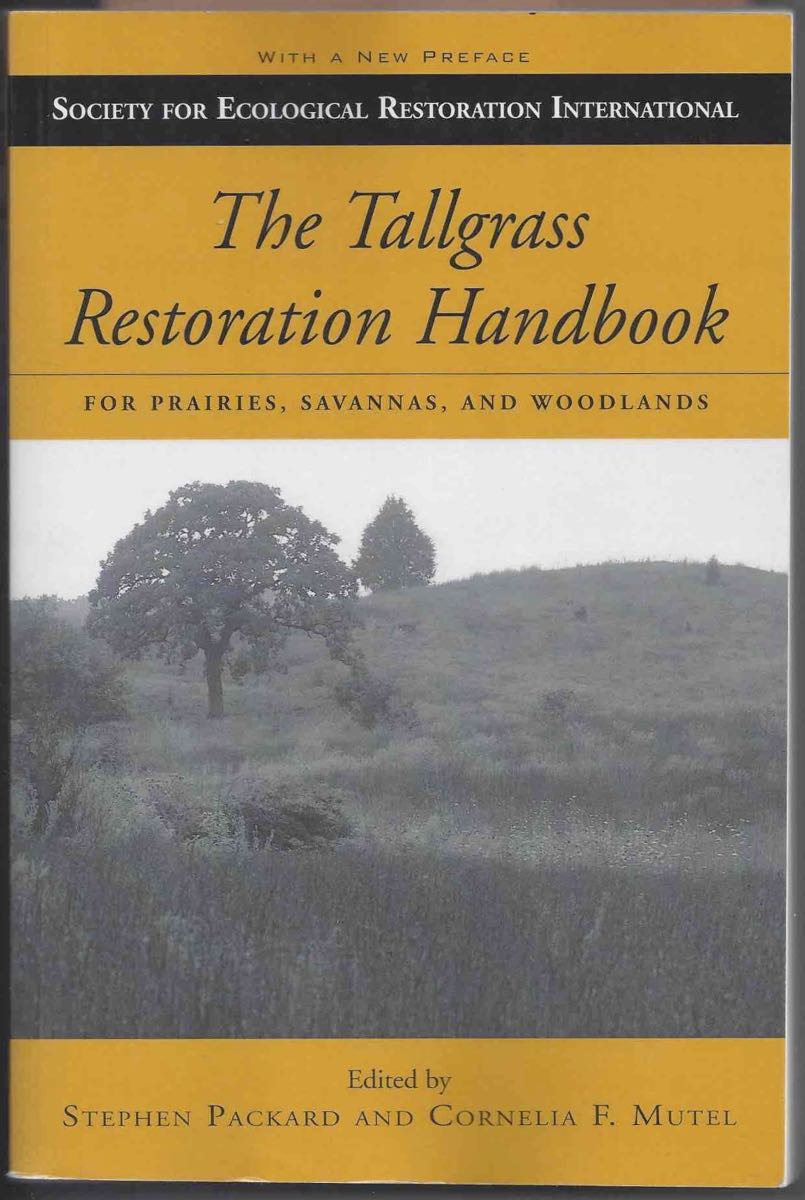
If you are interested in prairie restoration, this is a terrific book.
Veggie List and Veggie Notes (Aug 3/4, 2017, green EOW)
Treat this as an approximate list. We’re not sure each box will have all the items.
Sweet corn, 9-10 ears
Green beans, ~0.9 lb
Broccoli, 1 or 2 heads
Tomatoes, 2 or 3
Frying OR bell pepper, 1
Cherry tomatoes, 1 pint
Zucchini/summer squash, 1
Salanova lettuce, 1 small
Red onion
Walla Walla onion
Garlic, 1 bulb
Italian basil, 1 husky sprig
Some sites get watermelon.
Some sites get muskmelon.
Next week’s box will probably contain melon, green beans, tomatoes, peppers, cucumbers, onion and more.
Sweet corn – Be prepared to cut off the tips of your corn. Almost all the ears have damaged tips, from bugs or birds or rain driving water into the tip. Sorry about that. Just chop the tips off before you peel the ears.
Green beans – Our beans are unusually late this year because we lost the first planting during cool, damp weather in May. Anyway, enjoy these first beans.
Tomatoes – You will get 2 or 3 plum or slicing tomatoes.
Salanova lettuce – The lettuce heads are small. We harvest lettuce small this time of year, before they get bitter or too big to fit in the CSA boxes. This is the ‘Salanova’ variety that falls apart into salad mix when you cut the head at the base.
Onions – We’re sending two types of onions this week. They are easy to tell apart. Everyone receives a sweet Walla Walla onion, the type we have sent in recent boxes. Wallas are best used raw. We are also sending a red onion so you have an onion that will fry well. They are also good raw but are more pungent than Walla Wallas.
Garlic – This week’s organic garlic is from our friend John Hendrickson at Stone Circle Farm.
RECIPES
Visit our Recipe Log, a list of all our 2017 recipes to date.
RECIPES FROM LOCAL THYME
Comforting Classics
Melon Granita
High Summer Vegetable Soup
Spice Rubbed Chicken and Zucchini, Pepper and Onion Tacos with Chipotle Cream
Beef or Cashew Broccoli Stir Fry
Outside the Box Recipes
Chilled Melon Soup with White Wine and Basil
Green Beans with Caramelized Red Onions
Triple Chocolate Zucchini Dessert Muffins
Roasted Broccoli with Pancetta
Quick and Easy Meal
Chopped Salad with Basil Buttermilk Dressing
RECIPES FROM LAUREN
GRAIN SALAD WITH BROCCOLI, BEANS & BASIL
Also known as the grain salad I’ve been attempting to make my whole life adapted from this Bon Appetit recipe
After making this grain salad, I finally realized what I’ve been doing wrong all along. Not enough veggies. Too much quinoa. No dressing. With the perfect balance of crunchy veggies (some raw, some blanched), nuts, grains and herbs, this grain salad has changed my life and I can’t wait to make it again and again. Lauren.
1/3 cup quinoa
2/3 cup water
2 teaspoons Kosher salt, divided
3/4 pound beans, ends trimmed
1 head broccoli, roughly chopped into bite-size pieces
1/4 cup diced Walla Walla onion (about 1/4 of one onion)
1/2 cup shelled, toasted pistachios, divided
1/2 cup coarsely chopped basil (about 1/2 of the leaves from your sprig)2
5 tablespoons olive oil
2 tablespoons white wine, chapagne or rice wine vinegar
1 tablespoon maple syrup (or brown sugar)
2 teaspoons Dijon mustard
1/4 teaspoon Kosher salt
1/4 teaspoon freshly ground black pepper
- In a small sauce pan combine quinoa, water and 1 teaspoon salt. Bring it to a boil, reduce to a simmer and cover. Cook for 15-20 minute until most of the liquid has been absorbed.
- In a separate large pot, bring water to a boil over high heat with remaining salt. Once boiling, add beans and cook for 2 minutes. Drain and rinse with cold water. Let sit in the colander while you prepare the rest of the meal.
- In a large bowl, combine cooked quinoa, blanched beans, broccoli, and Walla Walla onions.
- In a food processor, combine 2 tablespoons pistachios, basil, olive oil, vinegar, maple syrup, mustard, salt and pepper. Process until dressing comes together. It should be pale yellow and very creamy. If you don’t have a food processor, you can whisk the ingredients together in a bowl. Just make sure you very finely chop the 2 tablespoons of pistachios first!
- Pour dressing over quinoa and veggies. Add remaining pistachios and stir until dressing coats everything evenly. Taste and adjust seasonings as needed.
.
TOMATO & BASIL PIZZA
This is an attempt to recreate a pizza I had at Sal’s in Madison a few weeks ago that my husband and I dubbed the best pizza we’ve ever had. It’s not quite as good as the real thing (because I have yet to master a crust that good), but it’s darn close. I love the combination of sweet, salty, creamy, and spicy. Lauren.
Takes 90 minutes (if making dough from scratch), 50 minutes with store-bought crust
Serves 4-6
1 batch favorite pizza dough, I used this recipe but wish I would have planned ahead and made this one a couple days in advance (it’s way better!)
1 head garlic
1 tablespoon olive oil, plus more for drizzling
1 Italian fryer pepper
1 pint cherry tomatoes
1/2 teaspoon Kosher salt, plus more to taste
1/4 teaspoon freshly ground black pepper
1-1/2 cups whole-milk ricotta cheese
15-20 pepperoni slices
1/2 red onion, thinly sliced
1/2 teaspoon red pepper flakes, plus more to taste
1/2 cup shredded mozzarella cheese
15-20 basil leaves (about half sprig)
- Prepare dough if making from scratch. Leave to rise on the warm oven.
- Preheat oven to 350 degrees (I always usually use the toaster oven for this step to avoid turning the whole oven on early).
- Cut the top off the garlic and remove any excess paper (the stuff around the cloves is fine but remove the paper surrounding the whole bulb). Set on a piece of aluminum foil. Drizzle with olive oil slowly so it soaks into the garlic. Wrap the entire bulb in the aluminum foil and roast for 35 minutes until softened. Remove from oven and allow to cool.
- Preheat broiler of oven.
- Drizzle olive oil on a sheet pan. Add Italian fryer and pint of cherry tomatoes. Sprinkle with salt and pepper. Broil for 10-15 minutes until charred all over and tomatoes have burst. Let cool and then slice Italian fryer, scooping out seeds with a spoon when you get to the top.
- When the pizza dough is doubled in size, roll out to approximately 10×14-inches in size and transfer to a baking sheet. Spread ricotta over crust with a spatula. Sprinkle pizza with pepperoni, sliced onion, cherry tomatoes, sliced Italian fryer and red pepper flakes. Scoop garlic out of the skin with a spoon and place all over the pizza in dollops. Top with mozzarella. Bake 10 minutes. Remove from oven, add basil leaves, a drizzle of olive oil and another sprinkle of Kosher salt. Bake 5-10 minutes longer until both the crust and cheese is golden brown.
- Serve hot with more red pepper flakes based on your desired heat level.


