
U-pick re-cap
- On: June 21, 2017
 0
0
I cannot tell you how much how much Steve and I enjoy the u-picks, mostly because you folks enjoy them so much. Ripe strawberries straight from the plant are spectacular. Most fruit sold in the grocery store is mediocre by comparison. The weather on Saturday was unexpectedly perfect and mild; warm with a gentle breeze and some cloud cover. It was a picture perfect day. Beth
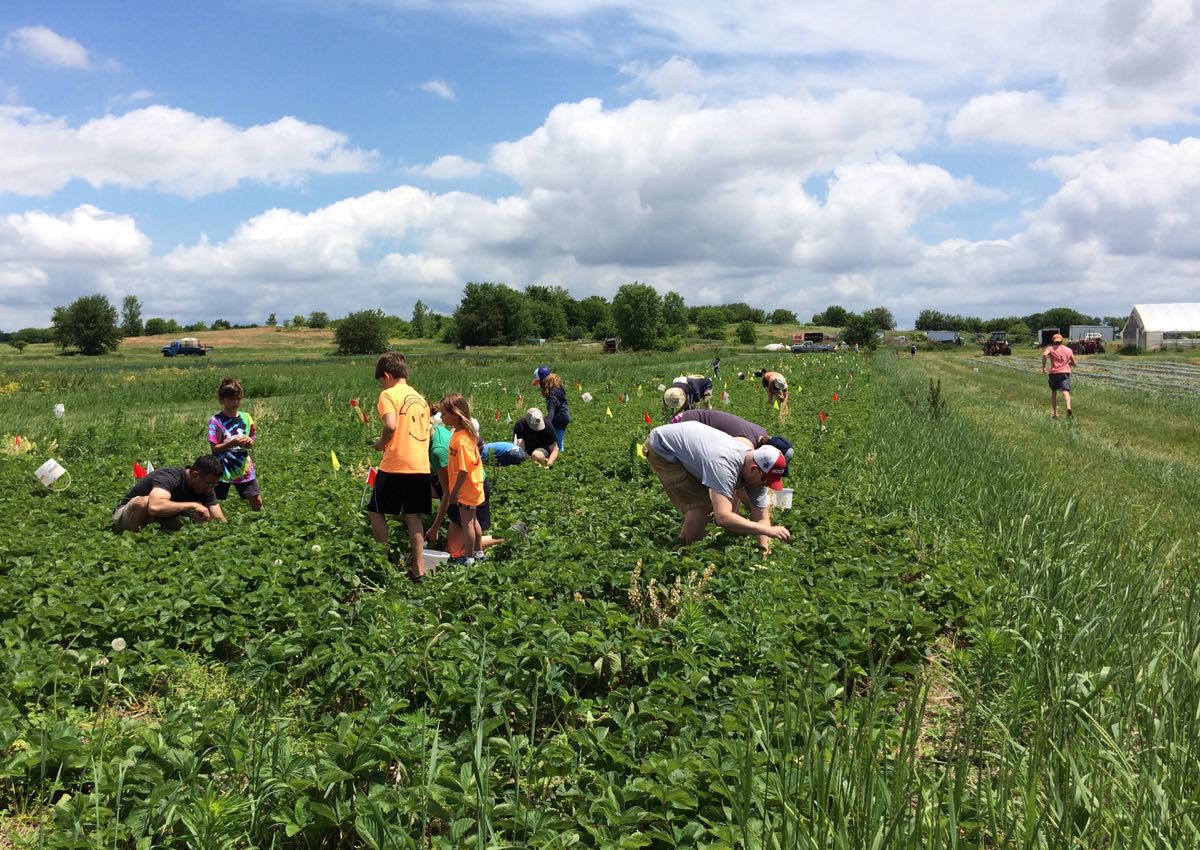
Steve, Ari and Billy staffed the berry field, showing people where and how to pick. You can see Billy at right in an orange shirt, running to greet the next group of members.


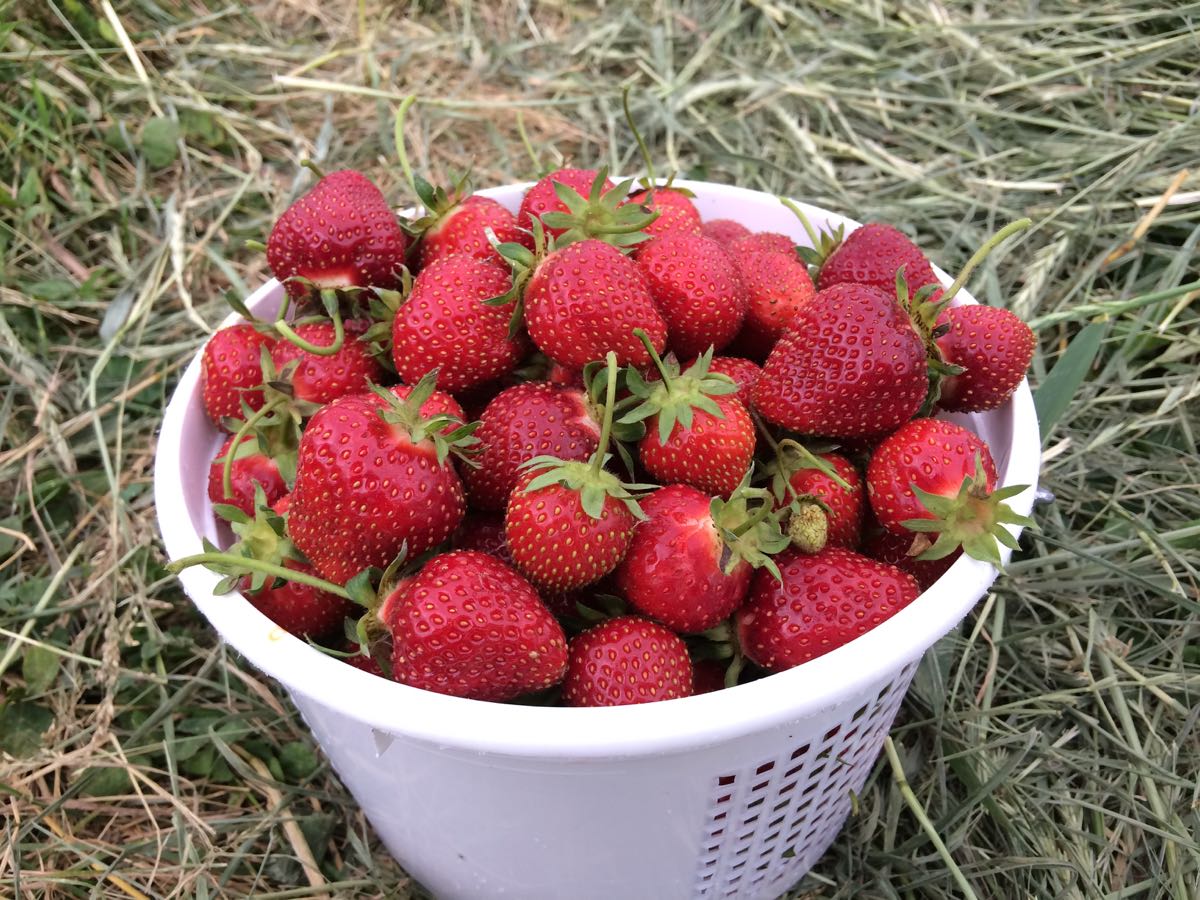
Happy berry pickers. Almost everyone picked more than they planned because the berries were abundant.

This young lady wore her special strawberry sunglasses!
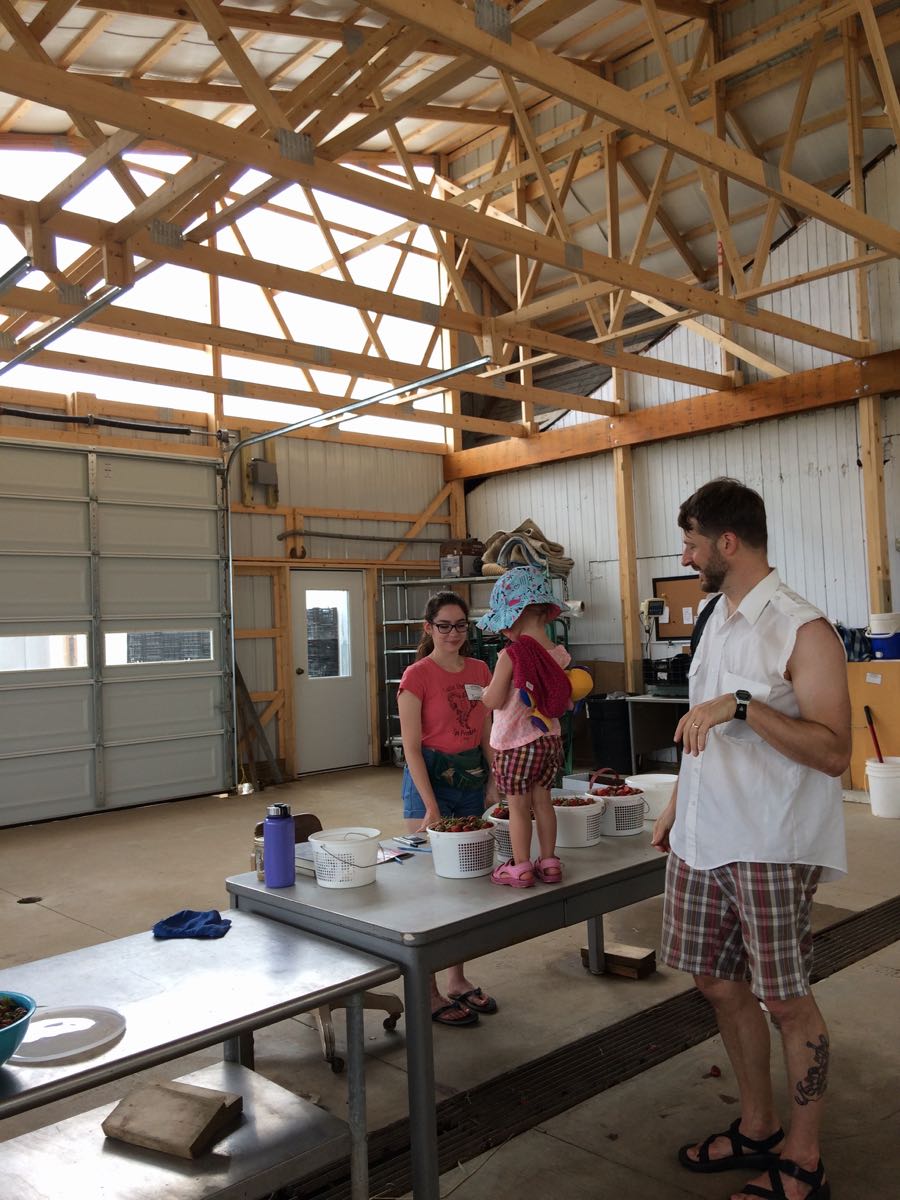
Everyone got to see our new pack shed when it was time to weigh their berries.
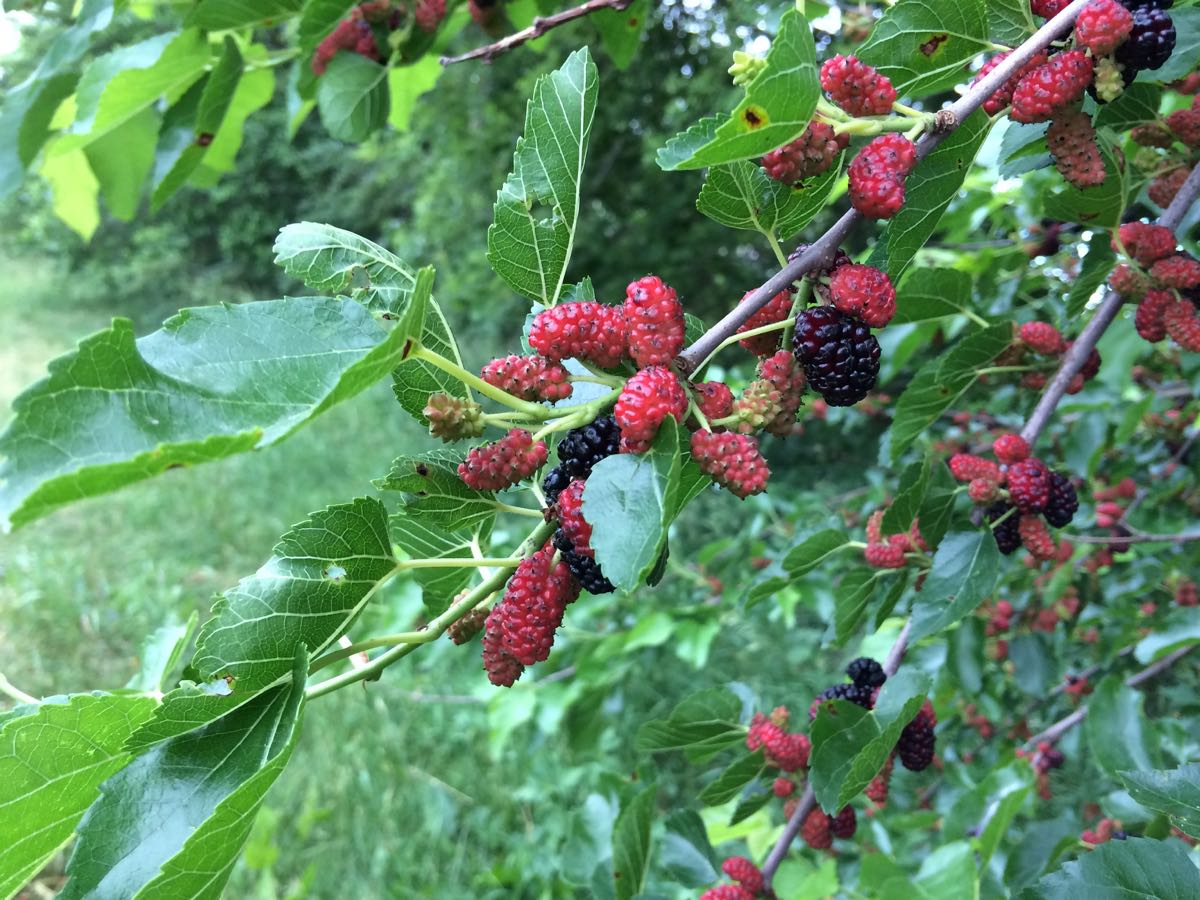
The mulberries are just beginning to ripen.


Mulberry pickings and a special one to share with Billy.
Veggie List and Veggie Notes, June 22/23, 2017, week #6, green EOW
Strawberries, 1 qt
Snow peas &/or snap peas, 1.1 lb
(In same bag, snap peas on bottom, snow peas on top.)
Zucchini &/or summer squash ~3 lb
Broccoli, 2/3 – 3/4 lb
Red bibb lettuce
Kale, 1 bunch
(Some sites get lacinto, some get Red Russian.)
Daikon, white
Daikon, purple
(2 – 4 daikon total; 1.5 – 2 lb)
Greek oregano, 1 bunch
Garlic scapes, a handful
Next week’s box will probably contain ‘Caraflex’ cabbage, snow peas, zucchini, Swiss chard, scallions and more.
Strawberries – These are ripe. Eat soon.
Snap peas and snow peas. These will be together in one bag.
– Snap peas (plump pea pods) – These peas should be eaten pod and all. They are delicious raw, or very lightly cooked or stir-fried. Preparation: They will need a quick rinse to remove faded gray blossoms. This is a new stringless variety, so there is no need to remove any strings. Remove the stem and they are ready to eat. Storage: Refrigerate.
– Snow peas (flat pea pods) – These are excellent stir fried or in raw salads. Preparation: Snow peas have strings. Here’s how to remove them. Snap off the stem end and pull the string down the concave side of the pod (the inward-curing side). Throw away the string and eat the pod. The thicker pea pods will usually have a string along both edges. Remove them when you snap off the stem.
Kale – Each site gets either Red Russian kale (green leaves, pink midveins) or lacinato kale (dark green, pebbled texture). They can be used interchangeably. Super nutritious, this first picking of the year is great cooked or used in raw salads. Storage: Cover and refrigerate.
Daikon radish – For the first time, we grew Korean instead of Japanese daikon. Korean daikon are sweeter and less harsh than the long Japanese types. The Korean daikon can be recognized by their fat, stubby shape. Look at the beautiful purple variety! Everyone gets both purple and white radishes this week. These Asian radishes are good cooked or raw. We often make a sliced radish salad, with Asian-style dressing (rice vinegar, mirin, sesame oil, soy sauce, minced garlic). Even a brief marination mellows the radish’s sharpness, although it’s less necessary with these Korean types. Both Pat and Lauren have given us interesting daikon ideas this week. Storage: Cover and refrigerate.
Greek oregano – We timed the oregano to go with zucchini and garlic scapes. Seems like a good combination! To store your oregano, you can …
– Keep at room temperature in a jar with the cut stems in shallow water. This is good for short-term storage as the flavor fades after a few days. OR
– Wrap in a cloth or paper towel, place in a plastic bag and refrigerate. OR
– Alternatively, you can wash it well then hang it up to dry in a place with good air movement.
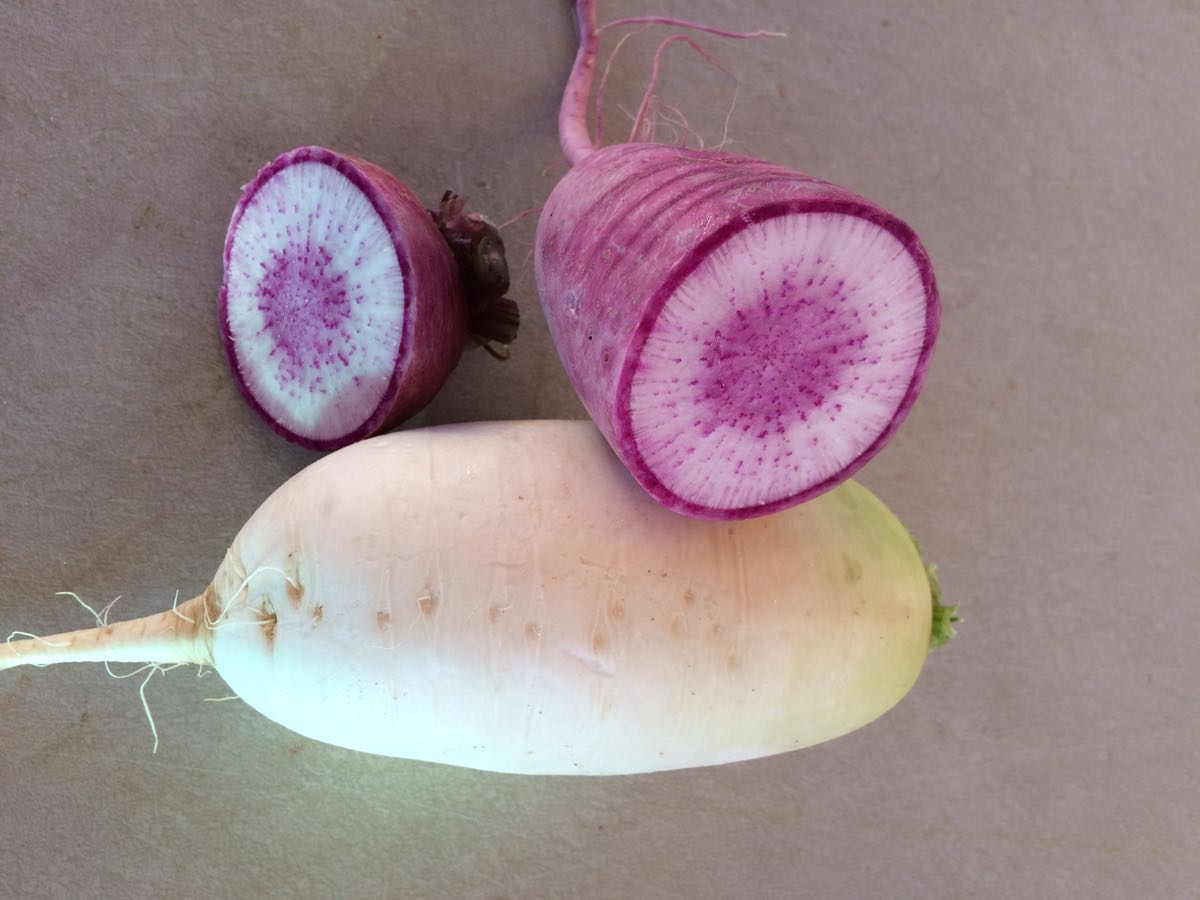
These Korean daikon are beautiful AND milder than usual!
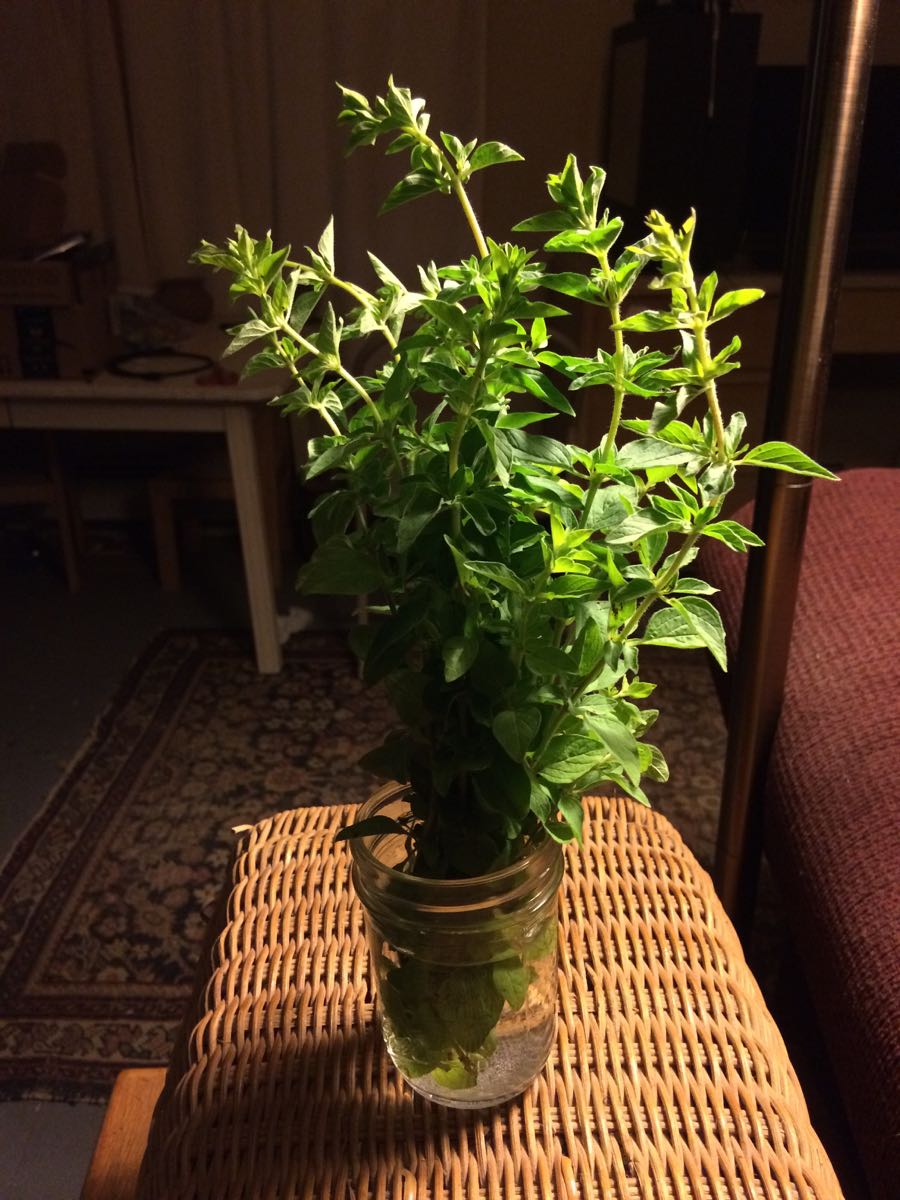
You can store your oregano at room temperature with the cut stems in water. See notes above for other options.
LOCAL THYME RECIPES
Comforting Classics
.
Outside the Box Recipes
.
Quick and Easy Meal
RECIPES FROM LAUREN
PORK, BROCCOLI & SNOW PEA LETTUCE WRAPS WITH PICKLED DAIKON
When I run out of ideas for lettuce, which always happens by late June, I have to get creative. Lettuce wraps are a great solution for when I’m sick of salads but the lettuce is still ultra beautiful and I desperately want to find a way to enjoy it. It’s especially fun if I can fill my lettuce wraps with a bunch of other veggies and top them with pickled veggies. That’s a CSA dream meal! Hope you enjoy! Lauren.
Serves 6-8
Takes 1 hour
2-1/4 cups water
1 cup brown rice
1 tablespoon toasted sesame oil
1 tablespoon olive oil
1 pound ground pork
3 garlic scapes, sliced
1/4 teaspoon Kosher salt
1/4 teaspoon freshly ground black pepper
2/3-3/4# broccoli, stems and florets, roughly chopped into bite-size pieces
1/4 cup tablespoons soy sauce or tamari
2 teaspoons fish sauce (or add more soy sauce or tamari if you don’t have fish sauce)
2 tablespoons maple syrup
1-2 tablespoon sriracha or favorite hot sauce, we used 2 but base it on your own heat tolerance
1 cup cashews
2/3 cup snow peas, stems removed and slicedRed bibb lettuce leaves, for serving
Pickled Daikon:
1/4 cup white sugar
1/2 cup rice wine vinegar
1 tablespoon toasted sesame oil
1 teaspoon Kosher salt
1-1/2# daikon, cut into matchsticks (no need to peel)
- Bring water to a boil over high heat. Add rice, reduce to a simmer, cover and cook for 45 minutes. Turn off heat after 45 minutes but leave the lid on for †an additional 15 minutes.
- Meanwhile, prepare the rest of the meal. To make the pickled daikon, whisk together sugar, rice wine vinegar, sesame oil and salt in a large bowl. Once sugar is dissolved, add daikon. It likely won’t be enough liquid to cover the daikon at first, but give it a good stir anyways. The daikon will release water as they sit there and you’ll wind up with plenty of pickling liquid. Allow to sit for 30-60 minutes, stirring occasionally.
- In a large saute pan (I used my cast-iron skillet), heat sesame and olive oils over medium heat. Add ground pork, garlic scapes, salt and pepper. Cook for 10 minutes until pork is browned. Add broccoli, soy sauce, fish sauce, maple syrup and sriracha to skillet. Cook until broccoli looks tender, about 5-8 minutes. Add snow peas and cashews and cook just for a couple minutes to allow flavors to combine. Add fully cooked rice just before serving.
- Serve a scoop of the rice mixture in a lettuce leaf and top with pickled daikon.
.
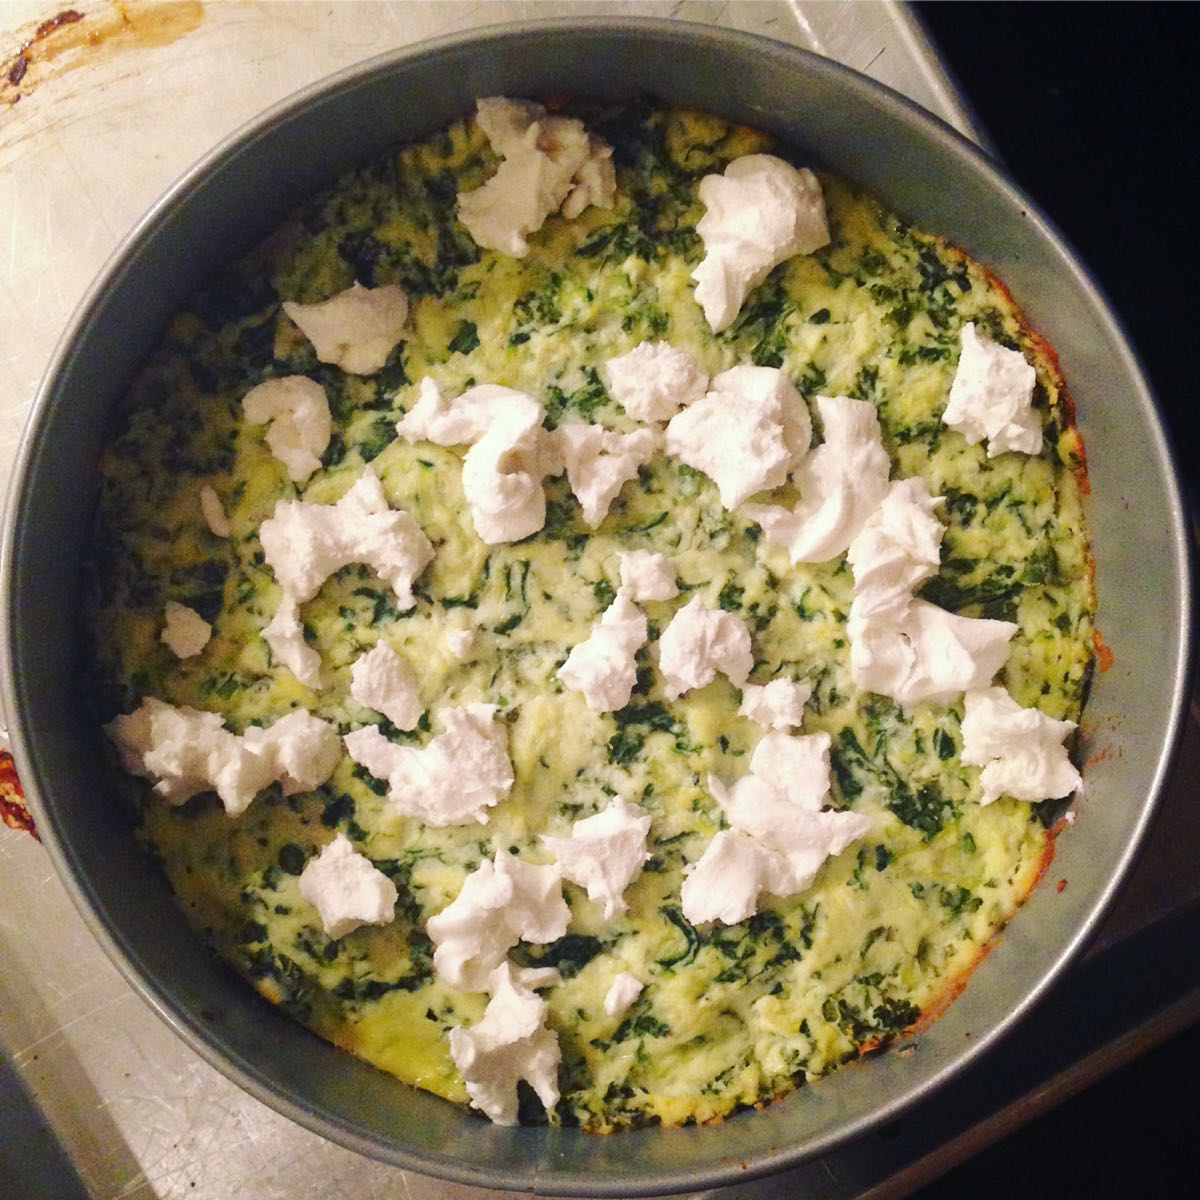
ZUCCHINI & KALE CHEESECAKE
Inspired by 101 Cookbooks
When I came across a recipe for zucchini cheesecake, I couldn’t quite believe it. A savory cheesecake that I can toss veggies and herbs into and serve warm or cold?! A rich hearty dish that’s packed with all my favorite cheeses and can be easily packed up for lunch or for a picnic?! This is a great simple, elegant meal that will surely impress any crowd. Make it for dinner. Make it for brunch. Whatever you do, just make it! Lauren.
Makes an 8-inch cheesecake
Serves 4-6
Takes 2 hours, most of it inactive
2 heaping cups unpeeled zucchini (about 1 large or 2 smaller)
1 teaspoon Kosher salt
3 cups whole-milk ricotta
1/2 cup finely shredded parmesan
2 green garlic, sliced
3 leaves kale, stems removed and torn into bite size pieces
1/4 cup greek oregano, leaves removed and roughly chopped
2 eggs
1/3 cup goat cheese
- Preheat the oven to 325 degrees. Grease an 8-inch spring-form pan. If you don’t have one, a 9-inch pie pan will work fine as well.
- Shred zucchini, toss with salt and place in a colander or fine-mesh strainer or colander. Leave here to drain while you do the next step.
- In a large bowl (or the bowl of your stand mixer), combine ricotta, parmesan, green garlic, kale and oregano. Don’t worry, it should seem like A LOT of kale. Don’t worry, it will cook down while it bakes. Stir to combine. Add eggs and stir until incorporated.
- By now your zucchini should have been draining for 10-15 minutes. Remove from colander and squeeze the water out until about half the original size. You can do this several ways (with cheesecloth, with towels, with a firm spatula in the fine mesh stainer), but I just put it in a ball in my hands and squeezed for about a minute. You don’t have to remove all the liquid. Just a lot of it.
- Add the squeezed zucchini to your ricotta mixture and stir to combine.
- Dump the mixture into your prepared pan and place the pan on a baking sheet (to prevent dripping). Bake for 60 minutes. Remove from oven and dab away any water that has formed on the surface with a paper towel (for me this wasn’t much). Add the goat cheese in crumbles to the top and bake for 35 minutes longer until cooked through.
- Remove from oven, allow to cool slightly and enjoy!


